Bulb cameras basically put 1080p HD surveillance right inside regular light bulbs, so there's no need to install extra security gear around the house. People love this because it uses what's already there. According to a recent report from Smart Home Innovation in 2023, about three out of four users want their gadgets to look good in a room while still being useful. The standard screw base shape makes these cameras instantly recognizable and trustworthy too. Security experts have actually pointed out something interesting: when people try these for the first time, around two thirds say they feel less nervous about them compared to normal camera setups that stick out everywhere.
Traditional security setups often need someone who knows what they're doing to install them properly, but bulb cameras work totally differently. Most people just twist them into place and secure them, something that around 89 out of 100 folks manage on their own without needing any special tools according to the DIY Tech Survey from last year. These little devices get their power straight from regular light bulbs which means no messing around with complicated wires running through walls everywhere. That's really helpful for people living in apartments since about 42 percent of landlords won't let tenants make changes that stick around forever, per the National Rental Housing Study released in 2023. When we actually tested how long these take to put in, the numbers were pretty impressive too. On average, someone can have one installed in just under five minutes while traditional wired options usually take almost an hour to set up properly.
Bulb cameras work with those standard E26 and E27 sockets that are actually in about 94% of homes according to some stats from the International Electrical Standards Board back in 2023. They handle auto regulating voltage across that wide range from 100V to 240V so they perform reliably whether installed in an old house or brand new building. The circuitry also adapts well enough to stop annoying flickers when used with dimmer switches which many homeowners have these days. Because of all this compatibility, installation works even in tricky spots such as high ceiling spaces or outdoor porch lighting without needing any special modifications or expensive upgrades to existing wiring.
Modern bulb cameras leverage Wi-Fi and plug-and-play technology to remove traditional setup barriers, offering intuitive installation without sacrificing surveillance quality.
The companion apps walk people through either scanning those pesky QR codes or entering Wi-Fi details manually, which makes connecting devices much easier for most folks. Usually, getting everything set up takes less than two minutes thanks to step-by-step guides inside the app itself. The screen shows little checkmarks and happy faces whenever something works right, so users know they're making progress. According to some research published last year from top minds working on internet-connected gadgets, around 9 out of 10 people actually get their stuff connected properly on the very first try if they're using standard 2.4GHz networks at home.
For optimal performance:
Interference from microwaves or thick walls can degrade connectivity; placing the camera within 15 feet of the router improves reliability.
Putting together screw-in hardware with automated software makes setup really fast these days. According to a recent smart home study from 2024, around 8 out of 10 people who tried it for the first time had everything up and running in under ten minutes. Most problems weren't with complicated hardware but instead came down to spotty internet connections. After getting things installed, folks usually spend another few minutes tweaking stuff like adjusting camera angles or setting up motion detection areas. About seven in ten users report finishing these final touches in less than five minutes without much trouble at all.
When opening the box, start by looking for the bulb camera itself, along with the user manual and whatever mounting hardware might be included. Nearly all models these days ship with some sort of microSD card storage inside the range of 32 to 128 gigabytes. Just make sure it actually works with what you bought since specs can vary between different versions. According to recent surveys from last year's smart home market research, around eight out of ten people got everything they needed when unboxing their device. Still worth double checking though for any damaged pieces or items that somehow went missing during shipping.
When the app fails to find the camera, check if the router is no more than 15 feet away and double check that it's connected to a 2.4GHz network rather than 5GHz. Sometimes distance or interference causes connection problems. To reset things, try turning the device off and on again twice. Most cameras will let users know they're ready to pair through a series of beeps lasting about 15 seconds total. This behavior follows standard practices across most smart home devices these days. Should the video start looking grainy or lagging, don't forget to look for firmware updates inside the app settings. Manufacturers often release patches that fix performance issues and improve overall stability.
In pre-1990s homes, test socket stability—loose connections may require UL-certified adapters. For multi-story setups, use Wi-Fi extenders to maintain strong signals between floors. Consult a licensed electrician if your wiring lacks grounding or shows signs of wear.
People love how easy these devices are to install themselves. According to a recent Smart Home Survey (2023), around 8 out of 10 first timers managed to get everything set up without needing any tools at all. They mostly point to those friendly apps and handy QR codes for making connections so straightforward. For folks living in rentals, the screw in design has been a game changer too since they don't need permission from landlords to make changes that would normally require drilling holes. Take Sarah from Ohio who recently moved her security camera from the front porch down to the baby's nursery within just a few minutes after realizing her original placement wasn't working anymore something she could never do with her previous system that required permanent mounting.
Bulb cameras tend to work pretty well even in those older houses from before the 80s. Most folks living in these kinds of properties find them stable as long as they stick to what the manual says about voltage requirements. The latest IoT Safety Review mentioned last year pointed out how good these devices are for historic buildings where people can't just drill holes everywhere. Take one guy who lives in a proper Victorian house for instance he managed to get complete 360 degree surveillance simply by plugging into his existing pendant lights. He actually found the night vision much better than those old battery operated ones which used to stop working whenever it got too cold outside.
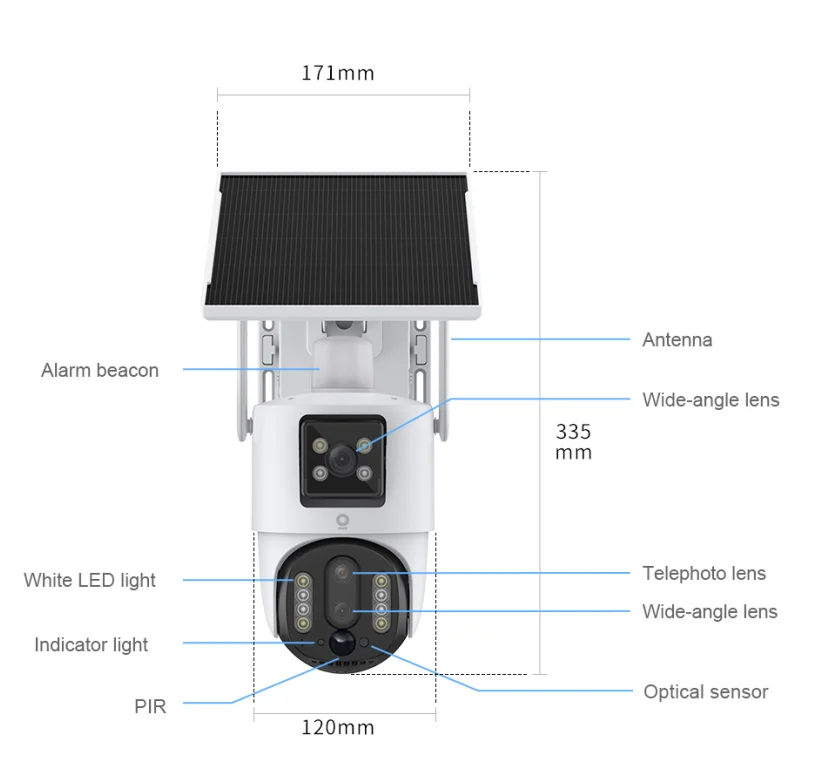
Bulb cameras work best when mounted up high near existing light sources such as porch lights or garage wall mounts for proper coverage of those critical entry points. Some folks have found that getting these positioned right cuts down on blind spots quite a bit actually around 62% based on what one surveillance report from last year indicated. After putting them in place, don't forget to adjust the camera body so the lens faces where people tend to walk most frequently. For houses with multiple floors, making small changes of about 15 degrees here and there can make all the difference, sometimes even cutting back on buying extra cameras altogether which saves money in the long run.
Give that camera lens a wipe down once a month using a soft microfiber cloth before dust starts messing with the picture quality. The Wi-Fi signal needs to be strong enough at the camera location, ideally above -67 dBm on the meter. Most people don't realize this, but weak signals are actually responsible for about three quarters of all those blurry night time shots when there's not much light around. If you want clearer video clips when motion is detected, try not to aim the camera straight toward street lamps or shiny surfaces that might reflect light back into the lens.
AES-256 encryption should be enabled right away, along with changing those default login passwords. The Ponemon Institute found that about 43% of all IoT security breaches last year happened because people never changed their factory settings. Don't forget to set reminders for firmware updates every two weeks so any known security holes get patched up. If remote access isn't absolutely necessary, turn it off completely. Want extra protection? Put all smart devices onto their own separate network segment. According to recent penetration testing results, this simple step can cut down chances of hackers moving laterally across networks by nearly 90%. Many businesses have already started doing this after experiencing smaller attacks.
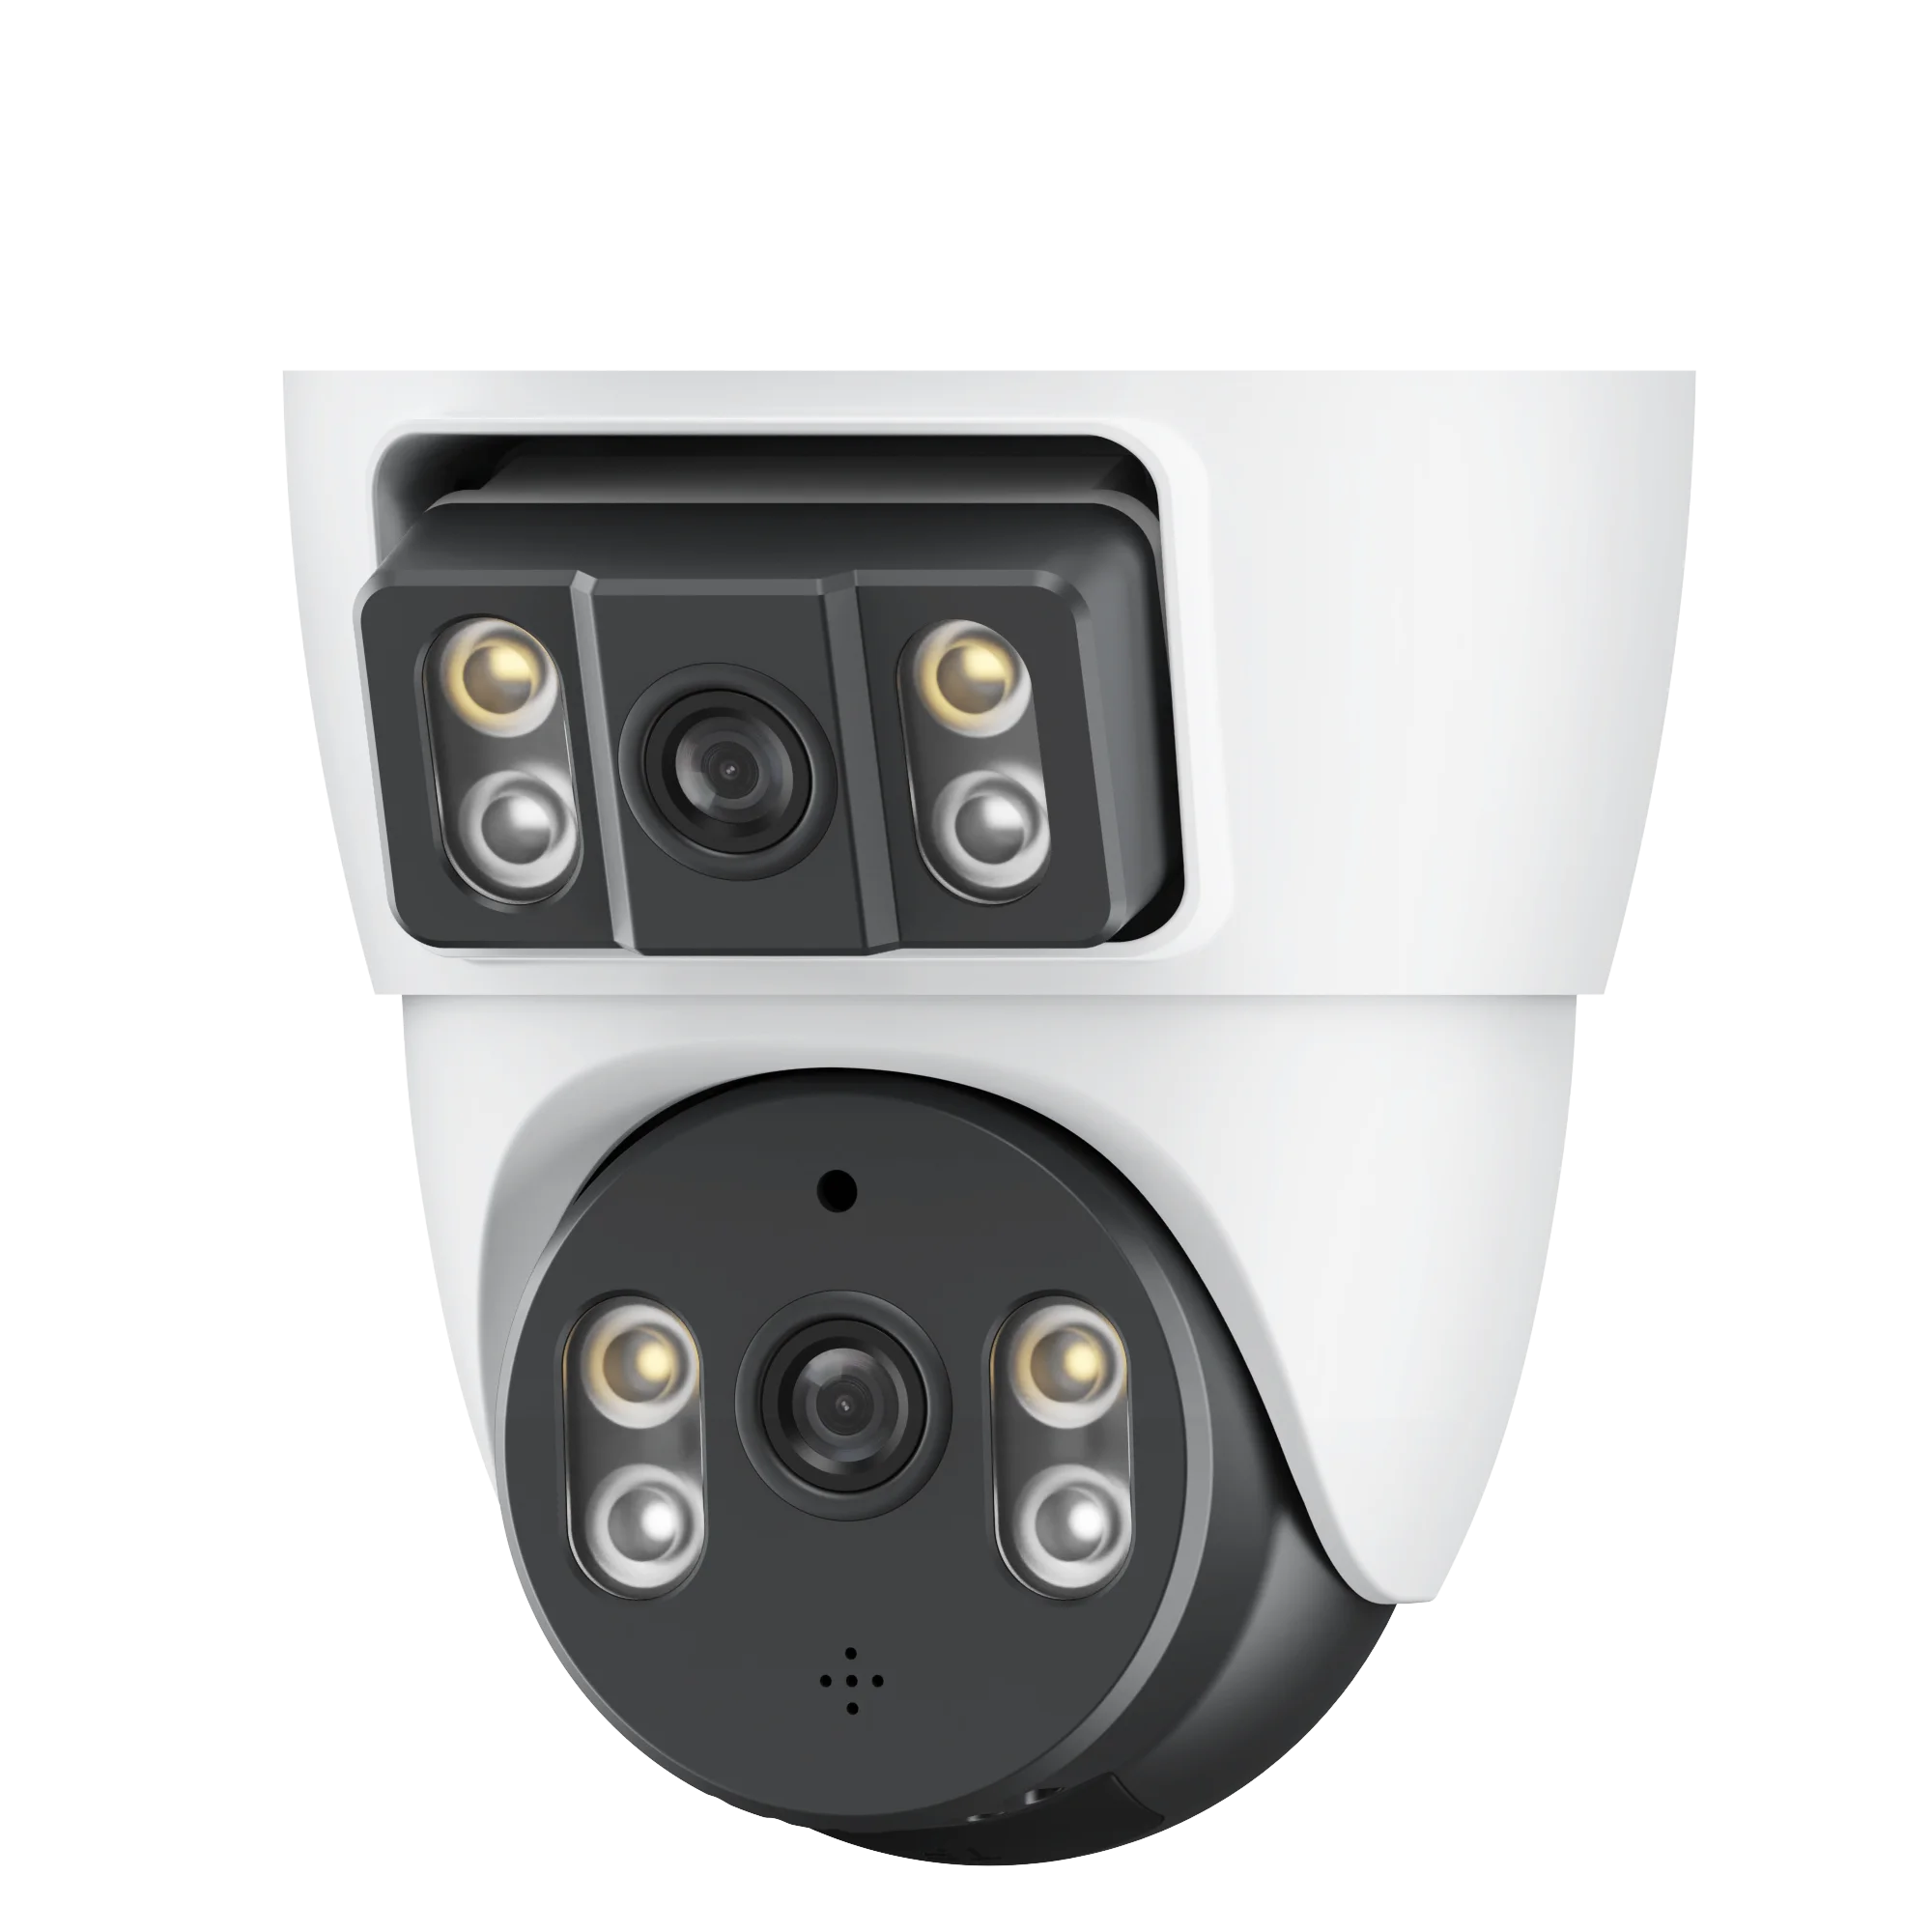
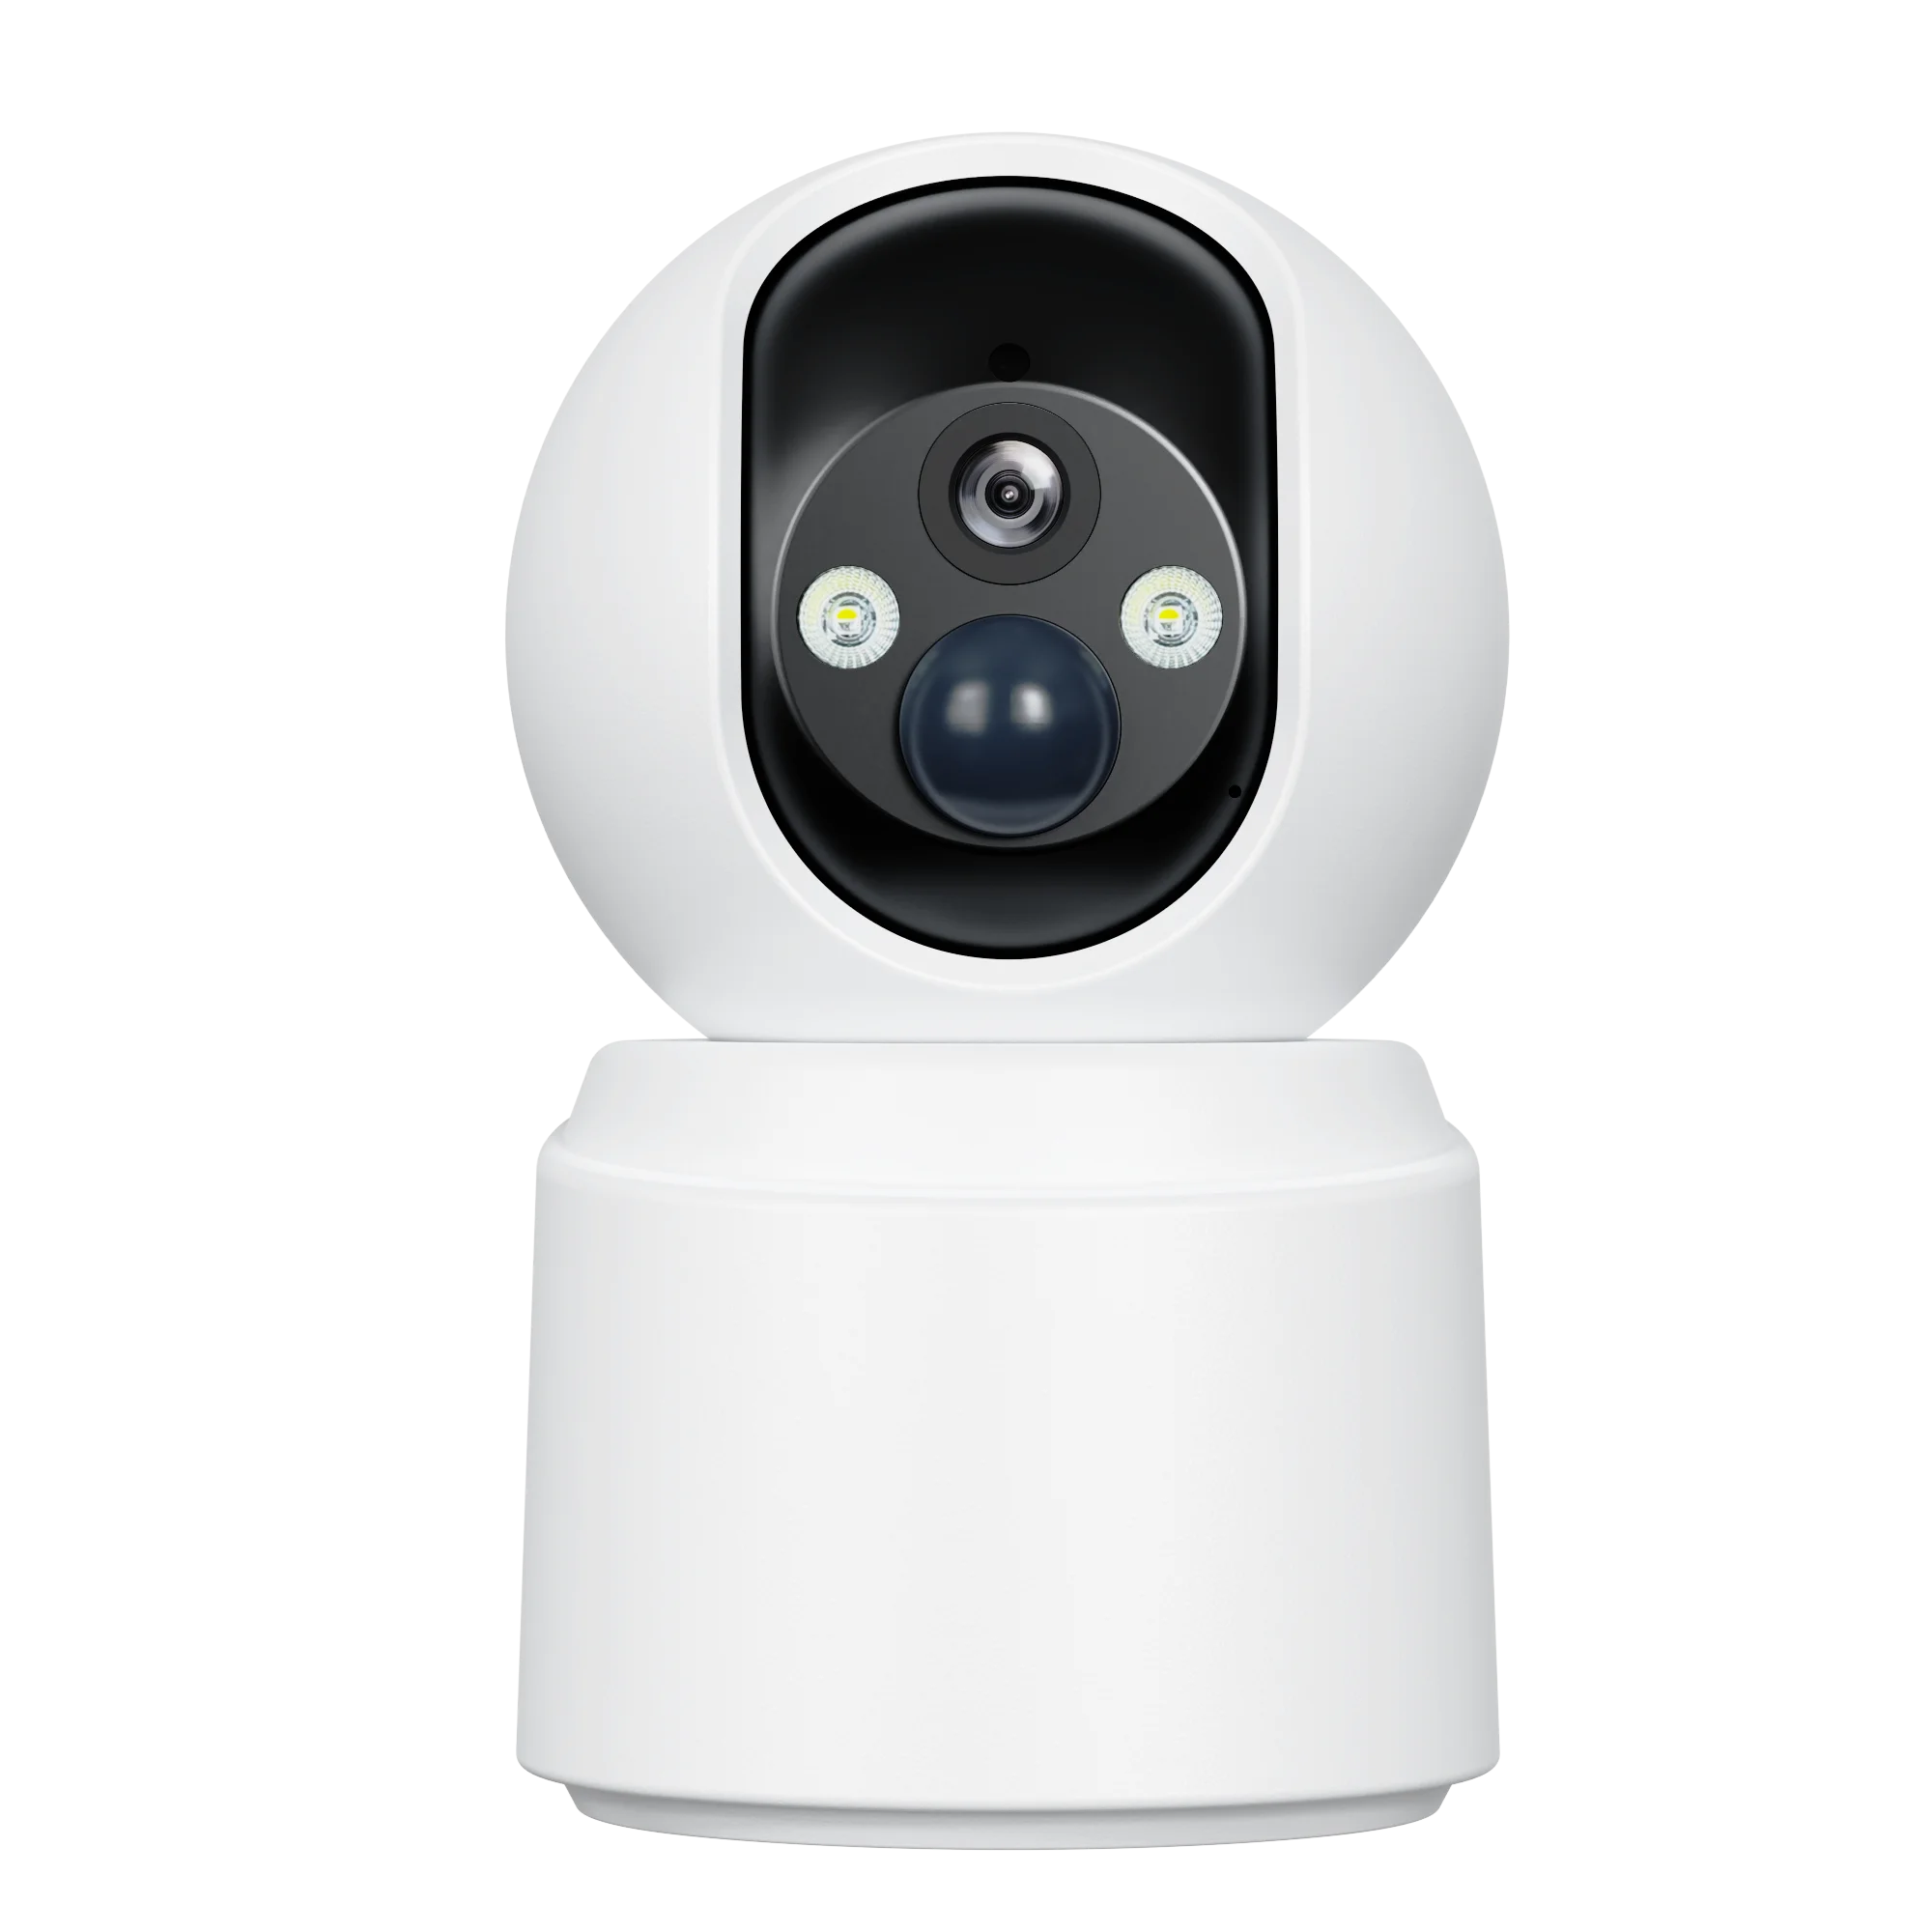
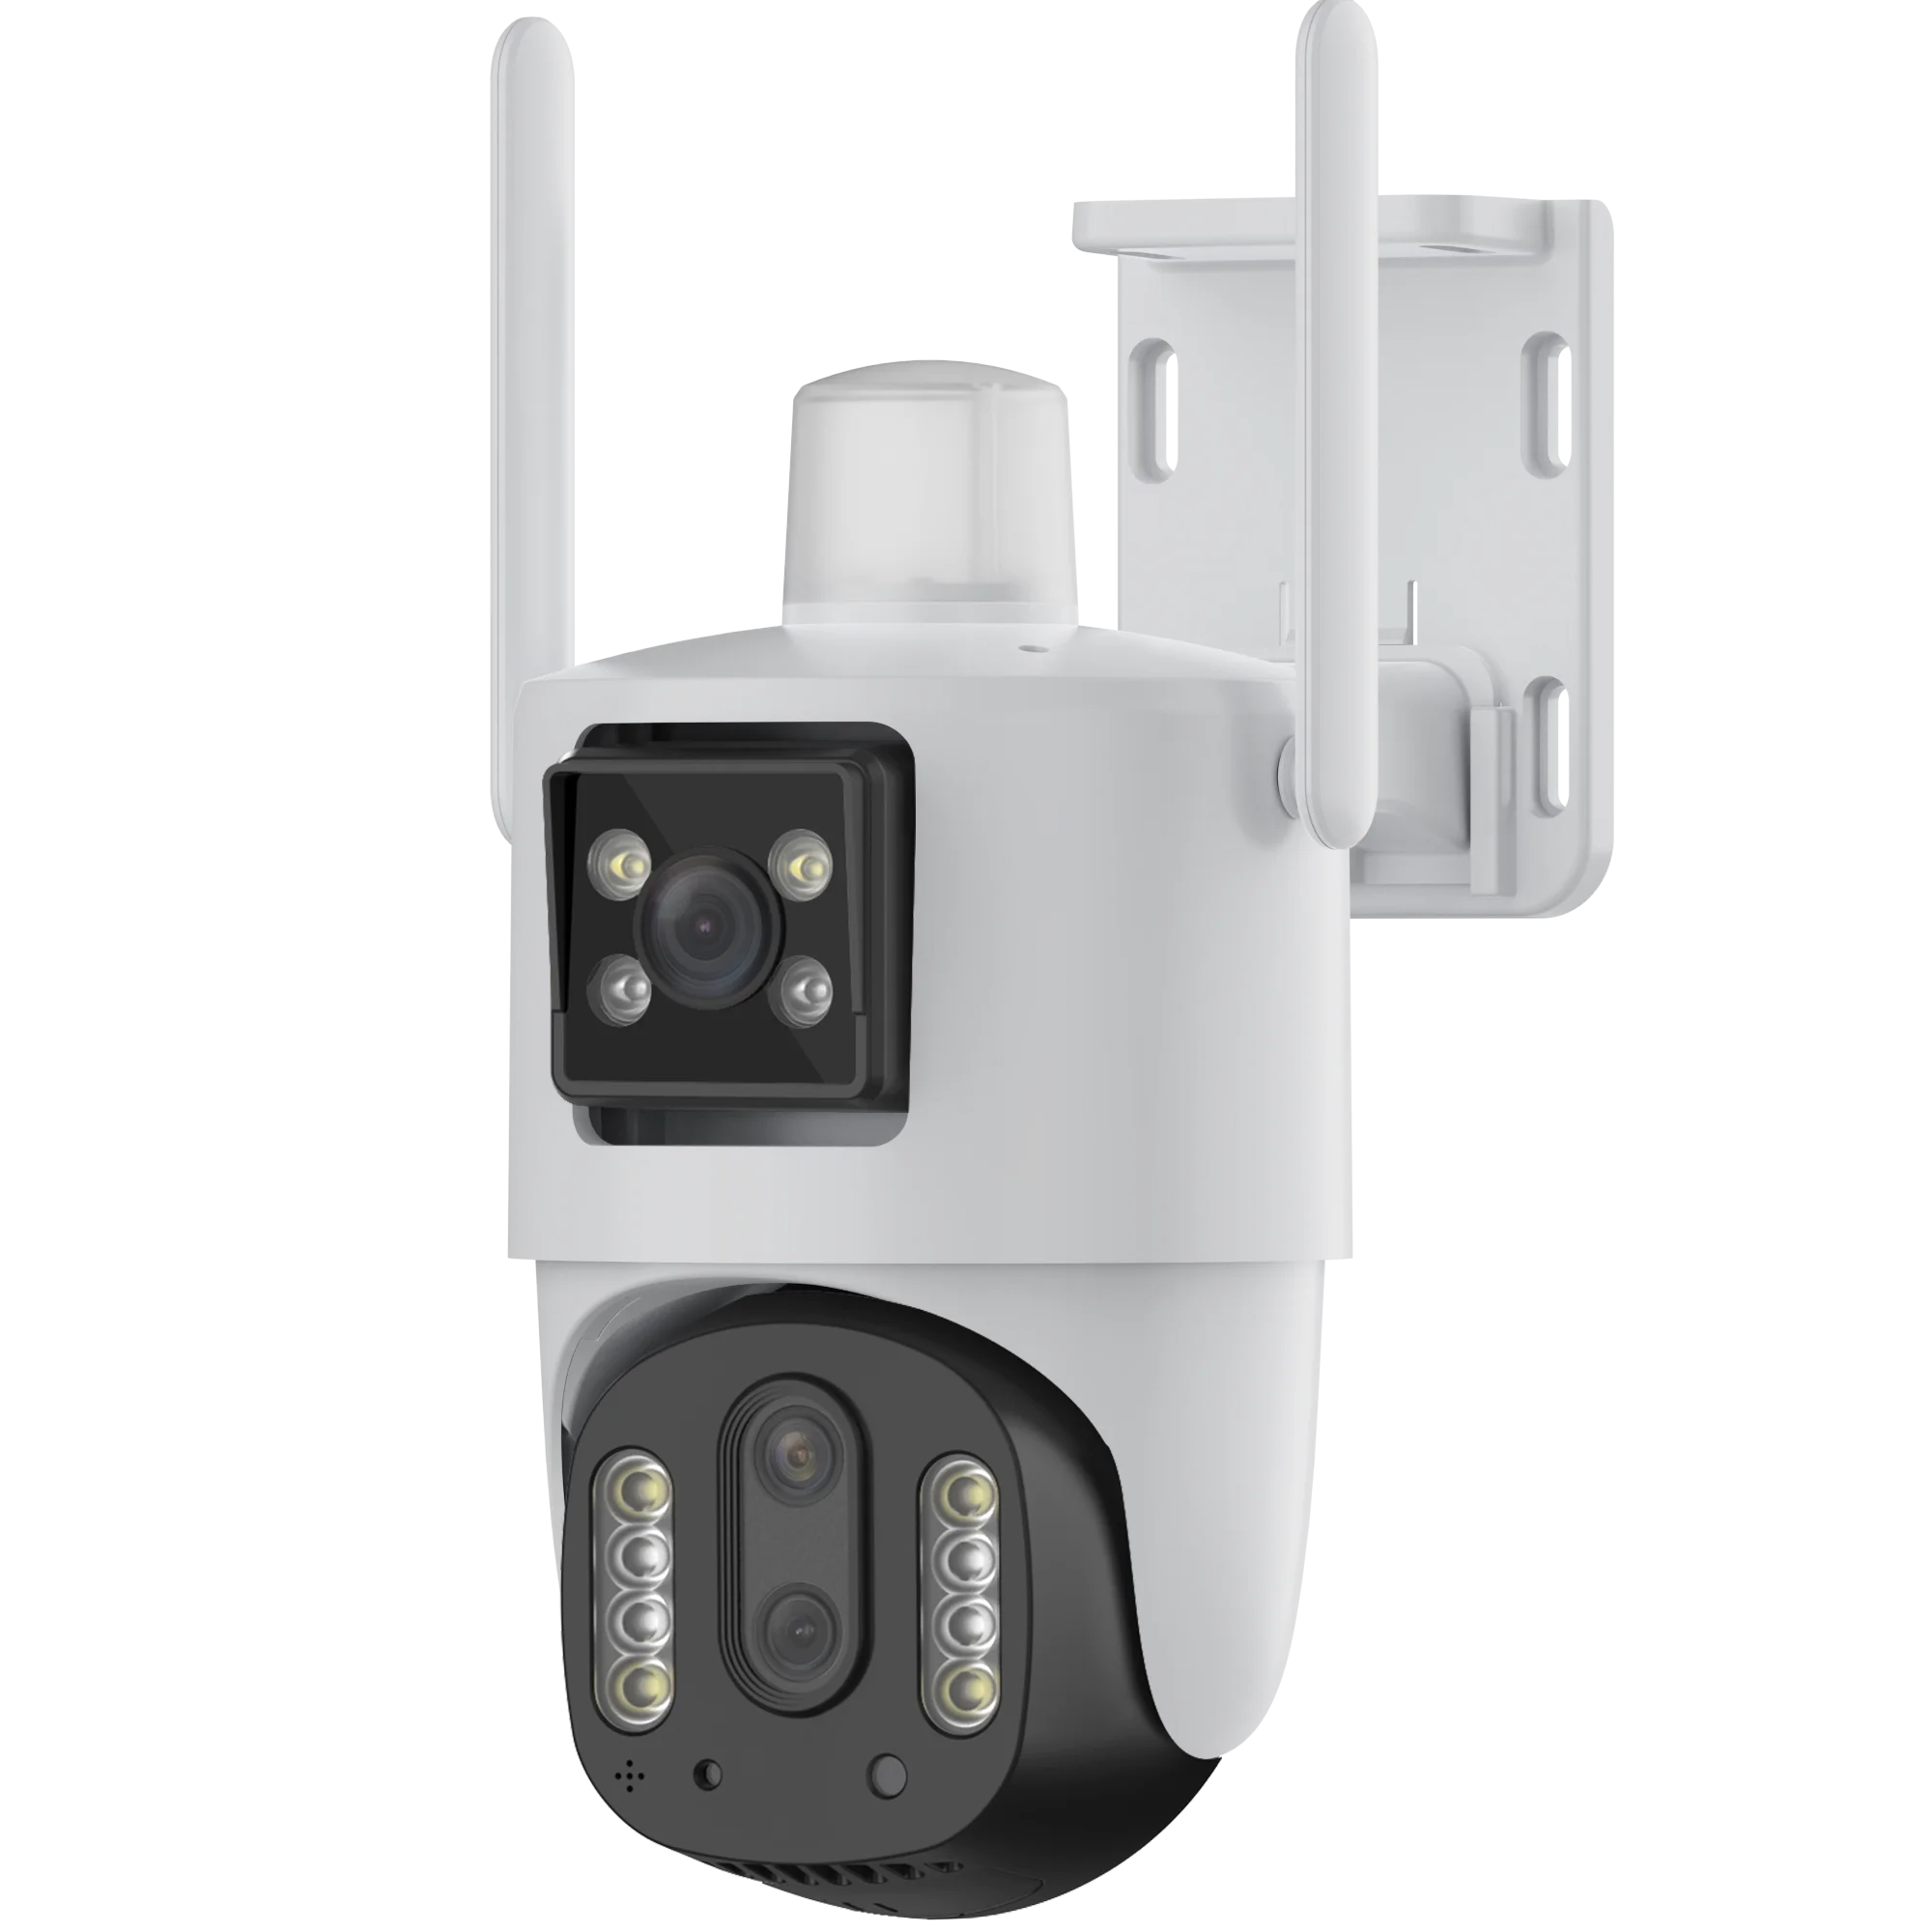
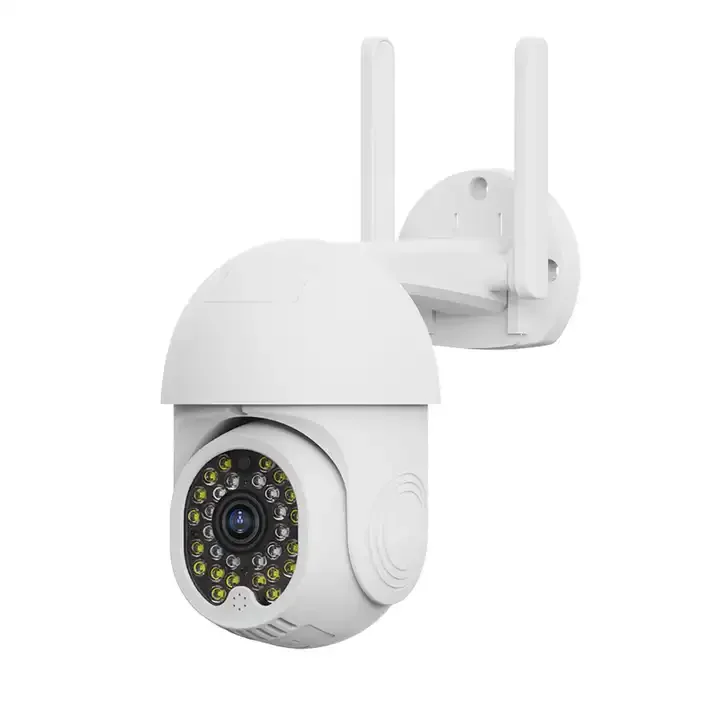
A bulb camera is an innovative security device that combines a regular light bulb with a built-in surveillance camera, allowing for seamless integration into existing lighting fixtures without requiring additional installation.
Bulb cameras draw power directly from standard light sockets, utilizing existing electrical circuits to power their surveillance capabilities without the need for additional wiring.
Most bulb cameras are designed to be compatible with standard E26 and E27 light sockets, which are widely used in homes around the world.
Bulb cameras generally require a 2.4GHz Wi-Fi network, upload speeds of at least 2 Mbps for streaming, and positioning within 15 feet of the router for optimal signal strength.
To secure your bulb camera, enable AES-256 encryption, change default passwords, frequently update firmware, and consider using a separate network segment for smart devices.