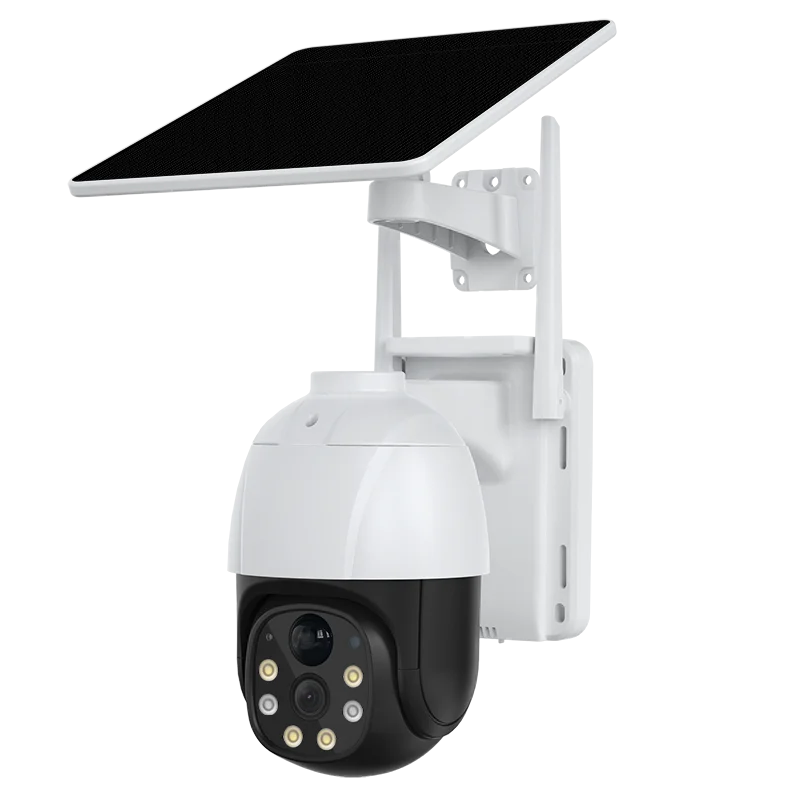
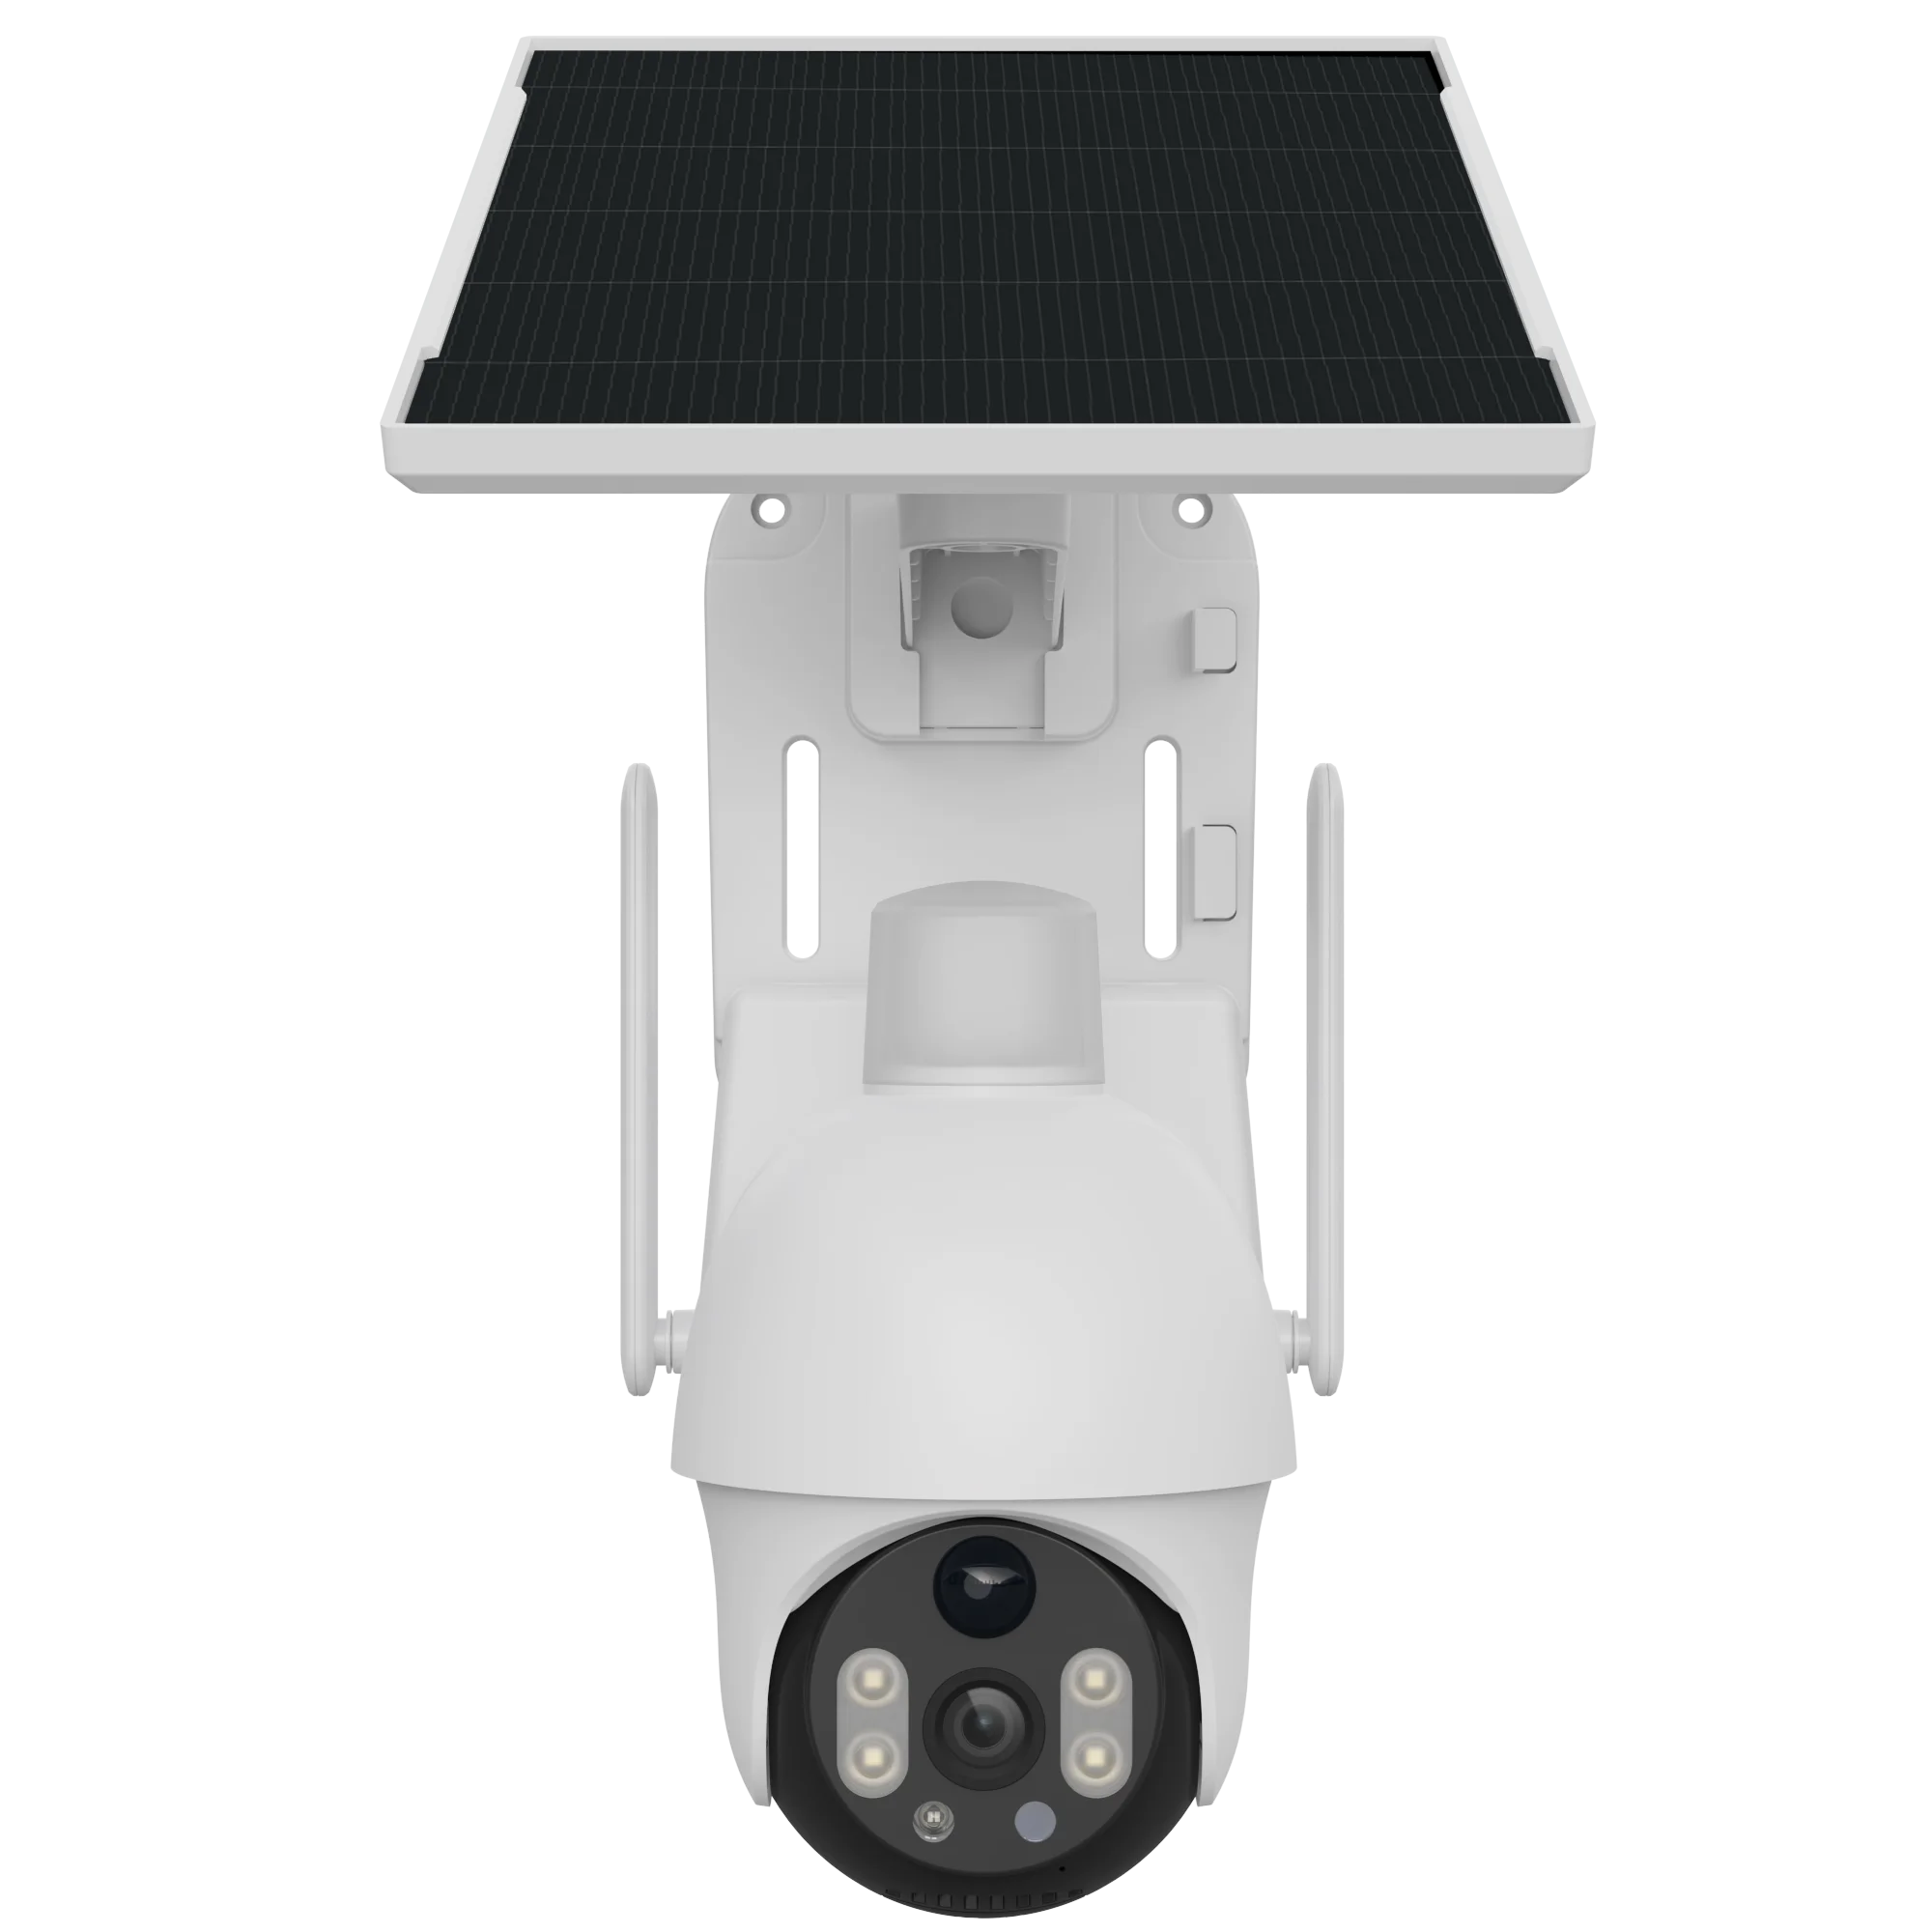
Guangdong Macro-Video Smart Technologies Limited, a leading smart home security product enterprise in China, offers V380 solar cameras that combine renewable energy with advanced security features. The installation of a V380 solar camera involves several key steps to ensure optimal performance and functionality. First, it is essential to select a suitable installation location. The solar panel of the camera needs to be exposed to sufficient sunlight to generate enough power, so choose a location with minimal shading, such as a clear area in the yard, on the roof, or on a pole. Ensure that the location is within the desired monitoring range and has a good view of the area to be secured. Next, gather the necessary tools and materials, which may include a drill, screws, a screwdriver, a level, and the mounting bracket provided with the camera. Before starting the installation, read the user manual carefully to familiarize yourself with the components and installation instructions. Begin by mounting the solar panel. Most V380 solar cameras come with a separate solar panel that needs to be installed in a position where it can receive maximum sunlight. Use the mounting bracket to fix the solar panel to a stable surface, such as a wall or a pole, ensuring that it is securely attached and aligned to face the sun. Use a level to make sure the solar panel is installed horizontally to optimize sunlight absorption. After mounting the solar panel, connect the power cable from the solar panel to the camera. Ensure that the connection is secure and waterproof, as the camera and solar panel are designed for outdoor use. Some models may have a built - in battery that stores the energy generated by the solar panel, so make sure the battery is properly installed and connected before proceeding. Next, install the camera itself. Use the provided mounting bracket to fix the camera to a suitable location, such as a wall or a corner, ensuring that it has a clear view of the area to be monitored. Adjust the camera's angle and direction to achieve the desired field of view, and use the level to ensure it is installed straight. Once the camera is mounted, connect it to the network. If the camera supports WiFi, follow the instructions in the V380 APP to connect it to your home WiFi network. For 4G solar cameras, insert a SIM card into the camera and ensure that there is a 4G signal in the installation area. After connecting to the network, power on the camera and wait for it to initialize. Open the V380 APP on your mobile device and follow the setup process to add the camera to your account. This may involve scanning a QR code on the camera or entering specific configuration details. During the setup, you can configure various settings, such as motion detection, video quality, and recording options. Finally, test the camera to ensure it is working properly. Check the video feed in the V380 APP to make sure the image is clear and the camera is capturing the desired area. Test the motion detection function by walking in front of the camera to see if it triggers an alarm and sends notifications to your phone. Also, check the solar panel's charging status to ensure it is generating power and charging the battery. If any issues are found, refer to the troubleshooting section of the user manual or contact customer support for assistance. By following these steps, you can successfully install a V380 solar camera and enjoy its reliable security monitoring capabilities powered by solar energy.